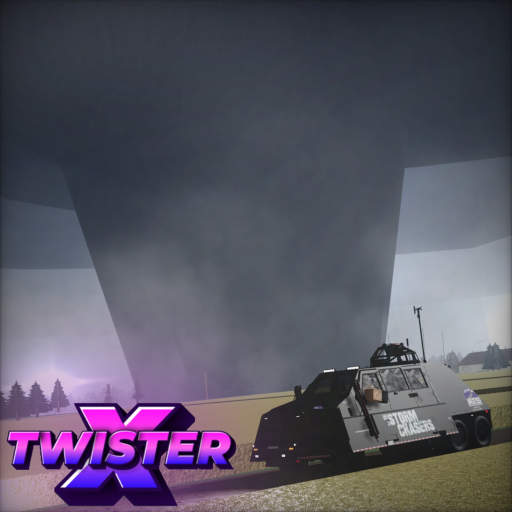
TwisterX Wiki
Field guide · July 2026

How to Read Radar in TwisterX

A field sequence for using the reflectivity and velocity products confirmed in TwisterX.

Feature names confirmed officiallyUpdated July 14, 2026
Quick answer

The short version

Start with reflectivity to locate precipitation and the larger storm shape. Switch to velocity to understand how air is moving relative to the radar, then compare that motion with roads and your vehicle role. Repeat the scan after every meaningful reposition; a single image is a snapshot, not a permanent route.

Step-by-step

Use this order in game

  1. 01

    Find the storm in reflectivity

    Use reflectivity for the broadest view of precipitation and structure. Note the storm’s position relative to towns and roads rather than driving directly toward the brightest area. TwisterX confirms the product name but does not publish a color-to-intensity formula for this site to reproduce.

  2. 02

    Compare velocity

    Open velocity and look for organized motion in the same part of the storm. Do not translate colors into an exact wind speed unless the live interface explicitly provides one. The useful decision is where motion sits relative to your vehicle and route.

  3. 03

    Choose an observation position

    A scout can keep more distance and visibility. A radar truck can support coverage and repeated scans. An interceptor may plan a closer approach, but deployment features and community-reported thresholds do not remove risk inside the game.

  4. 04

    Protect the road out

    Before moving, identify a turn-around point and a second road. Avoid letting the storm sit between you and every exit. The confirmed eight-town world gives useful landmarks, while exact layouts should be learned from the current map.

  5. 05

    Scan again after moving

    Weather evolves through TwisterX’s thermodynamics system. Reopen reflectivity and velocity after repositioning, compare what changed, and abandon an approach that no longer leaves a clear route.

If you're stuck

Reset the field decision

Move back to a calm road, confirm responsive controls, reopen both radar views, and compare the live interface with the step that failed. If a price, keybind, vehicle feature, or location differs, trust the current game and continue with the closest documented role.

Common mistakes

What usually breaks the plan

Reading only reflectivity

Precipitation structure alone does not explain motion. Compare velocity before choosing an approach.

Turning colors into a fake formula

The public game information does not support exact intensity or survival calculations.

Treating radar range as official

DOW and RAXPOL ranges on community pages may be outdated. Check the current vehicle interface.

Scanning while controls stutter

Input delay undermines route changes. Use the performance guide before a closer chase.

FAQ

Questions players ask

What does reflectivity show in TwisterX?

It is the precipitation and storm-structure view named in the official game description.

What does velocity show?

Velocity helps interpret motion relative to the radar. Read it alongside reflectivity instead of treating either view as a complete answer.

Can radar predict an exact tornado wind speed?

Not from the public information reviewed here. TwisterX does not publish a formula that supports an exact calculator.

Which vehicle has radar?

Community pages list DOW 3, DOW 6, and RAXPOL as radar trucks; current prices, ranges, and scan timing need an in-game check.

Next step

Keep planning